Experience Germany Like a Local

© 2015-2018 Polar Bear Studio LLC, All images unless otherwise noted, text, and website design, all rights reserved.
Disclosure: Please note that some links are affiliate links, and at no additional cost to you, we earn a commission if you make a purchase.
If you would like to support this website in some way, using these links will help do exactly that.

Travel Photography: Progress Report

Progress Report: Has My Travel Photography Improved? Photo by Irene Fiedler for Tourist is a Dirty Word Blog

**This post contains affiliate links and I will be compensated if you make a purchase after clicking on my links. This is at no additional cost to you.

CreativeLive Logo

I ended up postponing this progress report until after we made our second trip for Christmas in Germany, and I’m really glad I did. I’m proud to say I have made definite progress both in keeping my architecture shots from becoming distorted, in incorporating tourists purposefully into my shots, and being mindful of visual merging. If you’re scratching your head, this is the 4th and final post in a series about learning and improving travel photography from a CreativeLive Class Travel Photography: The Complete Guide with Ben Willmore. If you missed them, here’s where you can get caught up:

Back? Ready? Ok!

Is That Building Falling? Or Is It Me?
I tried to break my bad habit of tilting my camera up at a building when shooting architecture. Being short, this was a tough one. I tried to instead get more than one side of the building so short buildings didn’t appear to be falling backwards. I had really good luck with this technique when visiting the World Unesco Heritage Pile Dwelling Site in Uhldingen-Mühlhofen.

World Unesco Heritage Pile Dwelling Site in Uhldingen-Mühlhofen

When I had to shoot up at the building, like with this shot of the Dom in Konstanz, I embraced it and tried to make the viewer feel like an ant looking up at this towering facade, which is how I felt at the time.

Dom in Konstanz | Using Lens Distortion To My Advantage to Showcase the Towering Heights of the Building

Using Tourists To My Advantage
Out of my four favorite tips that Willmore suggested for dealing with tourists, I was easily able to implement #1, using the tourist to your advantage through their presence physically adding color or their placement in the composition. While at the Liebieghaus in Frankfurt am Main after Christmas, I was shooting the outside architecture of the museum. It was an overcast, blah-December-day, and a woman started walking towards the entrance, dressed in black with a red shawl. I wanted to hug her. It was just the pop of color I needed and of course her presence also provided nice scale comparison to the building itself. To read about my other 3 favorite tips dealing with tourists in your shots, review part 3 again.

Using Tourists To My Advantage When Composing a Shot: Pop of Color & Size Comparison

Visual Merging Fountain in Bodensee
After learning about ‘Visual Merging’, which is where objects in the foreground visually combines in your composition with your background, I made a concerted effort to look for merging when shooting sculptures. While in Lindau on Lake Bodensee, we hunted for a fountain that had come highly recommended by a museum volunteer. Upon finding it, I tried shooting various angles of it, always looking to see if anything was merging into the background. This is the first, initial photo I took.

Fountain in Lindau, Germany

I wanted the focus to be on the top statue, and here the foliage behind it are visually merging in a distracting, busy way. I wandered around to the opposite side, where I could get more separation between the figure and the foliage.

Looking for an angle where the fountain figure head does not visually merge into the foliage behind her | Lindau, Germany

Ninja-Phantom Lightroom Presets
Wow. Just wow. In part 2, I mentioned that when you purchase the class, you get a gigantic set of Ben’s tried-and-tested presets, and even includes a 2-page PDF with screenshots of how to install them. Having them has sped up my editing, as well as taught me additional tricks in Lightroom. Do you need your blue sky about 25% brighter? He’s got a preset for that, in percentage increments of 25. Willmore is so specific with his sorting of presets, if I have an issue with an image, I can easily navigate to the right folder and find a few presets that thanks to their naming, I know I can try to solve my problem. By doing so, the assigned settings are applied and you can literally see what tool sliders he adjusted, learning more about how Lightroom’s tools can be used in the process.

App? APP!!
Since I began this series, CreativeLive now offers an app in iTunes, compatible with iPhone, iPad, iPod, and AppleTv. The convenience factor of Creative Live has increased 10 fold. It's free to download, and you have access to all of the channels live streaming. After purchasing classes, you can access the episodes directly on the app as well, and it remembers where you left off.


Follow Along
If you enjoyed this article, or these topics sound interesting to you, you'll love our weekly newsletter. You'll receive a free Germany Packing list for signing up, and you'll receive each week's newest posts every Friday. Thank you for reading!


Comments

Travel Photography: Curating the Content in Your Images, Including the Tourists!

What I'm Learning Now via CreativeLive: Travel Photography the Complete Guide with Ben Willmore

**This post contains affiliate links and I will be compensated if you make a purchase after clicking on my links. This is at no additional cost to you.


This post is the third in a series of four. If you missed the first one, double-back here to get caught up. It's explains why I’m passionate about CreativeLive, and why I’m currently taking Ben Willmore’s Travel Photography: The Complete Guide class. The second in the series discusses Ben Willmore's sorting and processing style that will make going through your vacation photos a breeze. If you need to catch up on processing large amounts of photos, click to the second part here. I’m going to pick-up where I left off...

Dealing With Tourists
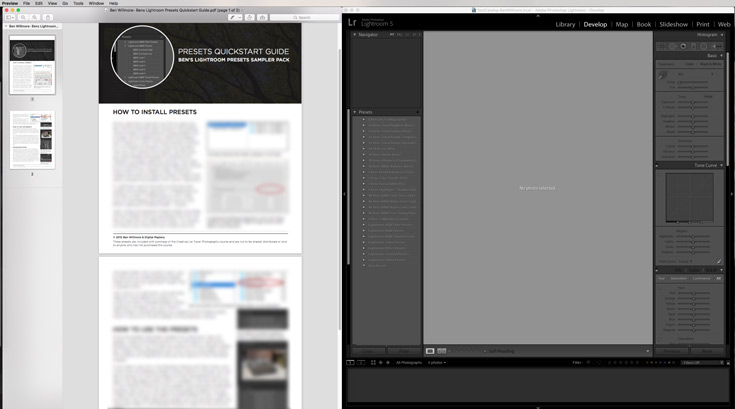
This subject grabbed my attention right away, and admittedly it was one of the first sessions I watched. Willmore presents some really great tips, all illustrated with examples from his own work. But, it gets even better, because included with the class purchase is a mobile-optimized, 35-page PDF guide, in a ‘done for you’ note-taking style with the photographic examples. It didn't take up that much space on my phone, and I've flipped through the pages like flash cards several times to refresh my memory. Old habits die hard!

Here are my four favorite tips that Willmore suggested for dealing with tourists:
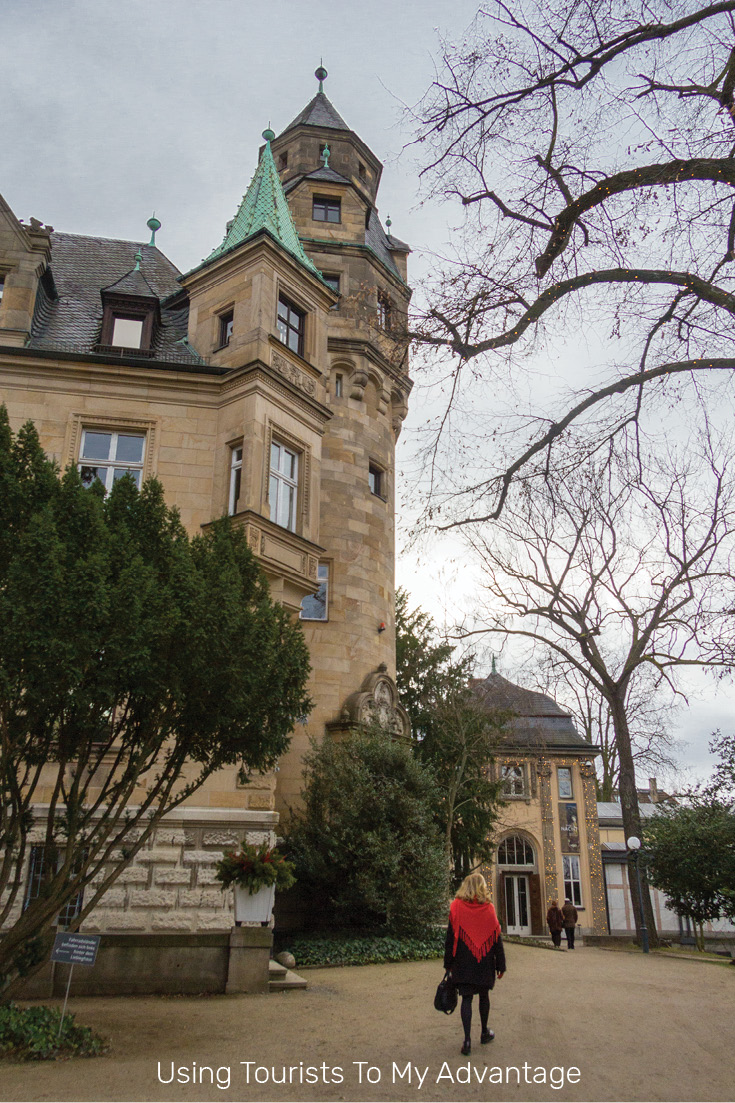
1. Use the tourist to your advantage through their presence physically adding color or their placement in the composition.
2. Crouch down or move, solve your tourist-problem by getting physically flexible.
3. Compositing in Photoshop might be simpler for very popular spots, just keep your camera still and concentrate on where people move in order to be sure you have the entire scene necessary to successfully composite.
4. Patience. It’s hard when there are endless photo opportunities all around you, or if you have family members bored out their mind waiting for you to finish up. Sometimes, its worth it to be patient and wait out the crowd. If you do NOT have the time, see 1-3, knowing well that with #3, compositing in Photoshop, you’re going to be spending extra time editing. Is outlasting a crowd for five-ten minutes worth the time it would take to create the composite in Photoshop? You have to pick your battles.

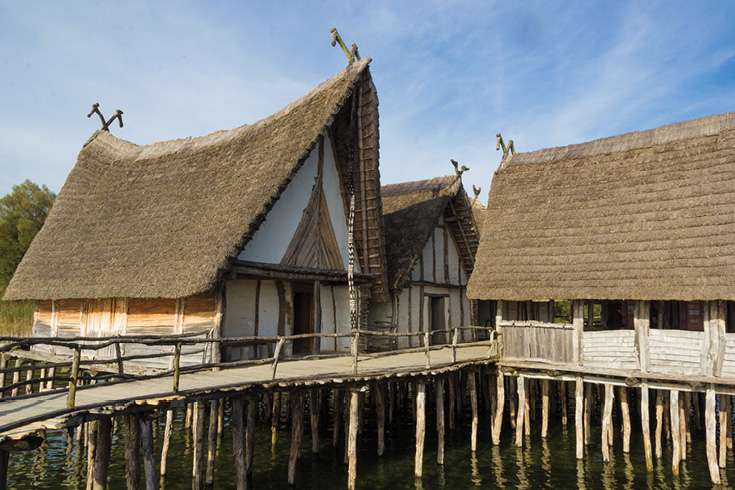
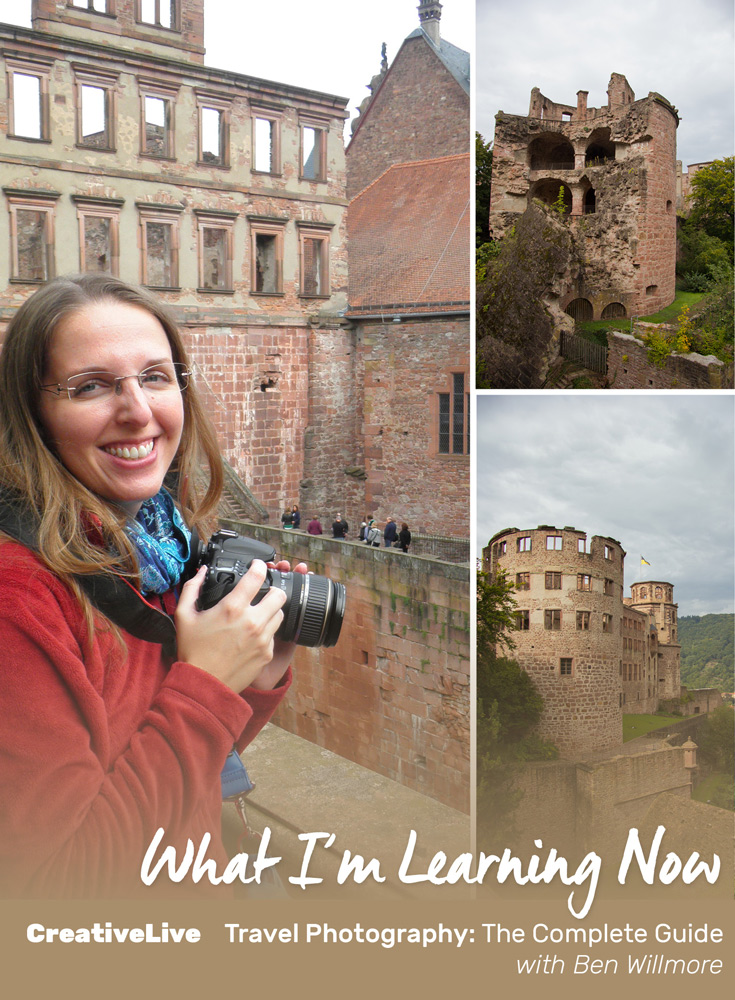
Challenges in Shooting Architecture
One tricky topic Willmore brings up that I never noticed before, and now I can’t stop seeing, is distorted, small buildings. The fact that buildings are skewed/distorted with perspective I always assumed was out of my control. Not so! Apparently, its more the fact that personally as a short person I’ve been more likely to hold my camera at an angle to the straight angles of the buildings, where the distortion comes in. If I held the camera perpendicular to the buildings, the building lines would also be straight. This definitely poses a challenge for me as most of the buildings I enjoy shooting are much taller than I am, and the alleyways in Germany are so narrow its hard to back up far enough to keep the camera and the building perpendicular. Willmore offers a few solutions, one of which I’ve been working on implementing is trying to incorporate more than 1 side of the building. That way it doesn’t appear as though all of my buildings are falling backwards.

Willmore also explained the concept of ‘Visual Merging’, which is where objects in the foreground visually combines in your composition with your background. For me, this is another example of being mindful of the negative space objects create, but I hadn’t considered it in relation to travel photography. This trip, I’ve been consciously looking to see if foreground statues are separating enough from their backgrounds, and if they’re merging together I’ve tried Willmore’s suggestion of either shifting my position or switching my depth of field in order to solve the issue.

Local Subjects
My eyes sort of glazed over when Willmore discussed working with local subjects. For where I travel, predominantly Germany, local subjects are hard to come by, and even harder to become visually interesting as subject matter. Germans look and dress the same way, for the most part, as I do, and as I see in Florida every day. Even if you do see someone in traditional Bavarian clothing, chances are they’re not from Germany, but a visitor like myself. To be honest, I have a hard enough time getting my own family members to behave in front of the camera, going to a stranger to create a portrait isn’t in my realm of interest. It was interesting to hear how he (Ben Willmore) has an ongoing series with his wife doing yoga poses in various countries. Having a go-to concept for an ongoing series could be a solution for camera-shy family members. While his tips were helpful, for me they weren't as easily applicable.

Coming Up Next
Part 4 will explore whether or not this class improved my travel photography and come out after my return from Germany in October! As I embark on this mini-series, please feel comfortable in providing feedback through the comments section below, or through email. I’d love to hear from you. Definitely let me know if you’re interested in this type of content.


Follow Along
If you enjoyed this article, or these topics sound interesting to you, you'll love our weekly newsletter. You'll receive a free Germany Packing list for signing up, and you'll receive each week's newest posts every Friday. Thank you for reading!


Free Photography Classes


Comments

Travel Photography: Make Processing Vacation Photos Simple

What I'm Learning Now via CreativeLive: Travel Photography the Complete Guide with Ben Willmore

**This post contains affiliate links and I will be compensated if you make a purchase after clicking on my links. This is at no additional cost to you.


This post is the second in a series of four. If you missed the first one, double-back here to get caught up. It's explains why I’m passionate about CreativeLive, and why I’m currently taking Ben Willmore’s Travel Photography: The Complete Guide class. I’m going to pick-up where I left off...

Culling Your Photos
The only way I muster the energy and enthusiasm to sort through thousands of vacation photos when I get home is knowing I have an iron-clad, efficient processing system.

If you don’t have a processing system, you really need one, and I recommend you use Ben’s verbatim until you’ve ironed out what you need. It will likely take 3-4 photo shoots before you start operating on autopilot. In the beginning, I had printouts and my notes beside my keyboard and I’d take it step by step.

If you have an efficient workflow already, look to see what features of Lightroom you could add to your existing process system to make it even more efficient. For example, I use Kevin Kubota's LightSpeed Workflow that I learned in his CreativeLive class, and it works for me really well. However, after taking this class I’m questioning my current importing process. I’m importing images directly onto my computer, then adding them to the catalog. Then renaming them. Why? Ben Imports them directly from his card with Lightroom and names them correctly right off the start. I’m going to re-watch that portion of Kevin Kubota’s video and see if I’m forgetting something. That’s a huge perk to buying the classes, is re-watching and comparing nuances between different workflows. You’d never have that opportunity in a real-life class.

Lightroom Presets
When you purchase the class, you get a gigantic set of Ben’s presets, and he included a 2-page PDF with screenshots that walks you through step-by-step how to install them.

When you purchase the class, you get a gigantic set of Ben's Lightroom presets


Willmore also included a 2-page PDF with screenshots that walks you through step-by-step how to install them.

"Lightroom on Steroids"...Truly
The title of segment 2 on day 2 of the course really made me laugh. I’ve never seen Lightroom done this way, and truly it's fascinating to see so many different uses for a single software. Again, I come from learning and using Kevin Kubota’s workflow, and I’m amazed at the differences although they’re both incredibly efficient. I’m really interested in the keywording that Ben does.

Course Material Balance and Flow
The course flows well from picture-crafting tips in Lightroom to out-in-the-field advice really well. Right when a topic starts to feel overwhelming there’s a ‘palate cleanse’ and the course switches mode. Be sure to take breaks, and let the concepts sink in. If you’re able to, pause and follow along with two internet browsers up, which is great for hands-on-learners.

Welcome Promotion Until 9/20/16
Intrigued? Being the proud owner of thousands of vacation photos, who wouldn't be? Seriously, this has helped me so much. If you're interested in learning how to improve your travel photography photos as well as make your processing simpler, try Ben Willlmore's class, Travel Photography: The Complete Guide. Currently CreativeLive has a promotion for 20% off for all new customers. The promo code is APWELCOME20 or click here 20% off all orders for new customers only.

Coming Up Next
Part 3 will review the episodes dealing with curating the content in your images, composition tips and dealing with tourists in your shots. Part 4 will explore whether or not this class improved my travel photography and come out after my return from Germany in October! As I embark on this mini-series, please feel comfortable in providing feedback through the comments section below, or through email. I’d love to hear from you. Definitely let me know if you’re interested in this type of content.


Follow Along
If you enjoyed this article, or these topics sound interesting to you, you'll love our weekly newsletter. You'll receive a free Germany Packing list for signing up, and you'll receive each week's newest posts every Friday. Thank you for reading!


Comments

Show more posts about traveling in Germany

Thank you For Reading! Denise & Sebastian | Photo by Irene Fiedler